
Episode 2.2: Install Codex CLI
Install Codex CLI, OpenAI's command-line agent, on Windows (or a Mac), sign in, start it in your project folder, and check each step before you let it speed up.
Downloads
AI for Research Efficiency, episode 2.2, with Douglas Hutchings. Narration: an AI-generated voice (ElevenLabs).
Commands as of 2 October 2026, from OpenAI's documentation (https://learn.chatgpt.com/docs/codex/cli (opens in a new tab)). They change: check the documentation before you run them.
1. Install
Windows
Windows PowerShell:
powershell -ExecutionPolicy ByPass -c "irm https://chatgpt.com/Mac
Mac (Terminal):
curl -fsSL https://chatgpt.com/Other ways: npm: npm install -g @openai/codex. Homebrew (Mac): brew install --cask codex. WSL2: install inside WSL with the Mac/Linux line.
2. Open a new terminal, and check
codex --version3. Start it in your project folder
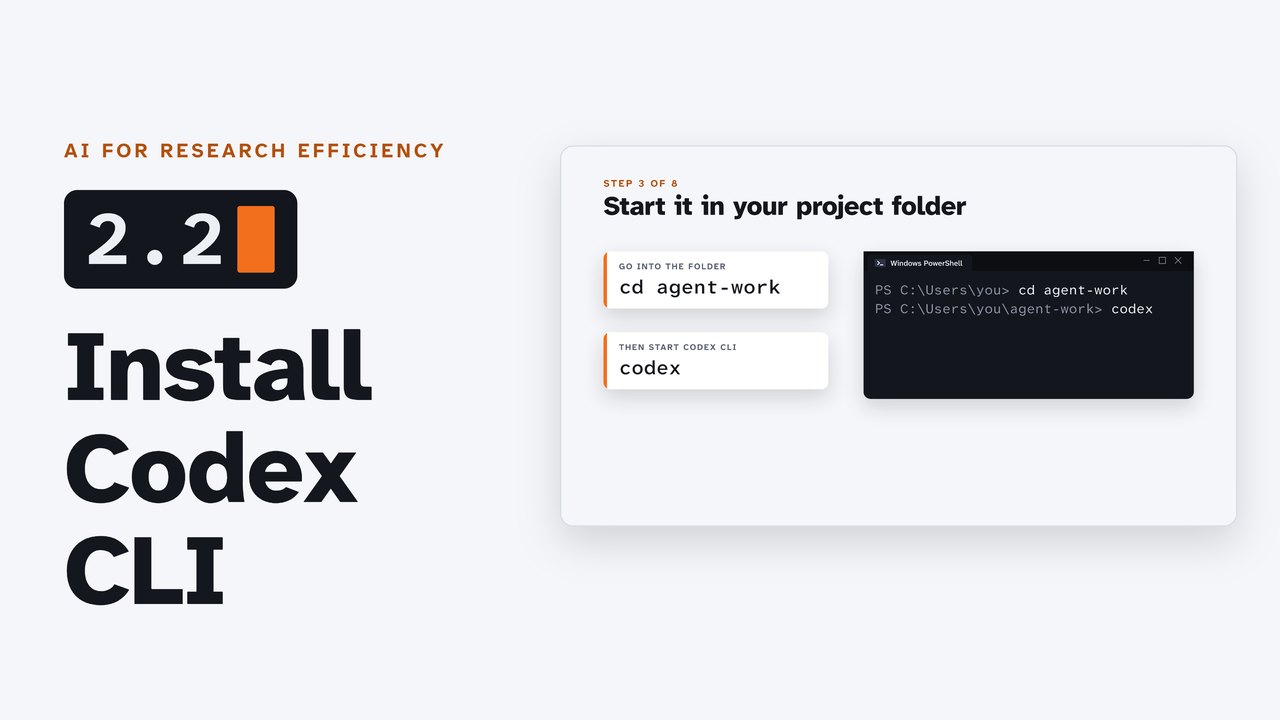
cd agent-workcodex4. Your account
Sign in with ChatGPT (usage included with Plus, Pro, Business and Enterprise plans; Edu as your workspace allows), or provide an OpenAI API key (pay for what you use).
5. Check each step, then speed up
Codex works inside a sandbox: your project folder, with no network unless you allow it. Type /permissions to choose. OpenAI's advice: "For most work, start with Ask for approval." It works on its own inside the folder and asks before going beyond it. To look without changing anything:
codex --sandbox read-only --ask-for-approval on-requestWhen you trust it with a task, choose Approve for me in /permissions: an automatic reviewer answers its requests, inside the same boundary.
If something goes wrong
| You see | What to do |
|---|---|
| The Windows sandbox asks for administrator approval | Approve it if you can. On a managed computer Codex falls back to a weaker sandbox, which still works. |
| Codex won't change anything in your folder | In a folder without Git it starts read-only: choose another mode with /permissions. |
| Errors after sign-in | Run codex login status; sign out with codex logout and sign in again. |
Your data
For individual ChatGPT accounts OpenAI may use your content to train models unless you turn off "Improve the model for everyone"; by default it does not train on Business, Enterprise, Edu or API data. Check your campus's rules for research data before you point an agent at it.
Sources
- OpenAI: OpenAI docs: Permissions (permission modes) (opens in a new tab), read 2 October 2026
- npm, Inc.: npm registry metadata for the three packages (opens in a new tab), read 2 October 2026
- OpenAI: OpenAI docs: Codex CLI (getting started) (opens in a new tab), read 2 October 2026
Corrections
None so far. If you find something wrong, email doug,@douglashutchings.com.
Transcript
Every spoken line, by chapter
Codex CLI
In a few minutes, Codex CLI will be working in your project folder, and you'll know how to keep it in check.
AI for Research Efficiency. Episode 2.2: Install Codex CLI.
Last time: a terminal, a project folder, Git and Python, and an account.
In this episode: install Codex CLI, sign in, run it in your project folder, and check each step before you speed up.
Install
Step one: in PowerShell, paste this line. It starts PowerShell with permission to run OpenAI's installer, then downloads it and runs it.
On a Mac, use the second line, in Terminal. Both lines are on the companion page.
Check the version
Step two: close the terminal, open a new one, and type codex --version. You should see a version number.
Start in your folder
Step three: go into your project folder with cd agent-work, and type codex.
Always start it in a project folder, never in your home folder.
Sign in
Step four: choose how to sign in: with your ChatGPT plan, or with an OpenAI API key you pay for as you use it.
Your browser opens. Sign in there, and you're back in the terminal.
Trust the folder
Step five: Codex asks whether to trust this folder. It's your project folder: trust and continue.
On Windows, it also sets up a sandbox that keeps its commands inside this folder. If your computer won't allow the stronger sandbox, Codex uses a weaker one, which still works.
Check each step
Step six: type slash permissions to choose how much it may do. While you learn, choose Ask for approval.
It works on its own inside your project folder, and asks before going beyond it. In a folder without Git, it starts read-only, so it can look, but not change anything.
A first question
Step seven: ask it something. What's in this folder?
It looks through the folder, and answers in plain words.
Speed up
Step eight: when you trust it with a task, choose Approve for me in slash permissions. An automatic reviewer answers its requests, and the work goes much faster.
OpenAI's own advice: for most work, start with Ask for approval.
Try it
Pause now: install Codex CLI, open a new terminal, and check the version.
Review and next
So: one line to install, a new terminal, your project folder, sign in, trust the folder, Ask for approval first, then Approve for me when you trust it.
Next: a worked example. Agents read a whole literature folder in parallel, and check every claim.