
Episode 2.3: Install Antigravity CLI
Install Antigravity CLI, Google's command-line agent, on Windows (or a Mac), sign in, start it in your project folder, and check each step before you let it speed up.
Downloads
AI for Research Efficiency, episode 2.3, with Douglas Hutchings. Narration: an AI-generated voice (ElevenLabs).
Commands as of 2 October 2026, from Google's documentation (https://antigravity.google/docs/cli/install (opens in a new tab)). They change: check the documentation before you run them.
1. Install
Windows
Windows PowerShell:
irm https://antigravity.google/In Command Prompt instead of PowerShell:
curl -fsSL https://antigravity.google/Mac
Mac (Terminal):
curl -fsSL https://antigravity.google/Other ways: Google is replacing Gemini CLI with Antigravity CLI. Gemini CLI still works with a paid Gemini API key or an organization's Gemini Code Assist licence: npm install -g @google/gemini-cli (needs Node.js 20 or later).
2. Open a new terminal, and check
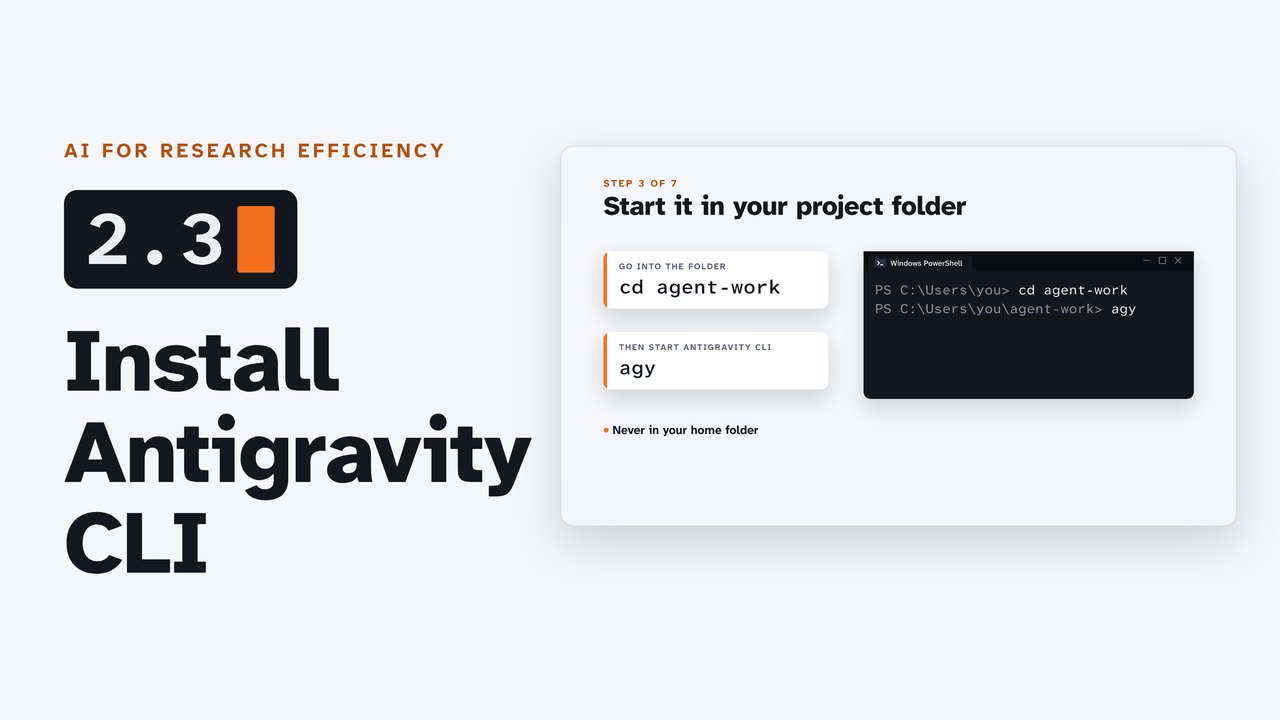
agy --version3. Start it in your project folder
cd agent-workagy4. Your account
A free Google account (a $0 individual tier with weekly limits), a Google AI Pro or Ultra plan (higher limits), or a Gemini API key.
5. Check each step, then speed up
Antigravity starts in its default mode: before it changes a file, it shows you the change and waits for y. On Windows, it asks before every command.
agy --mode=When you trust it with a task, press Shift+Tab for accept-edits mode (file changes go ahead), and allow the commands you trust in /permissions. Google: "Ensure that you monitor and verify all actions taken by the agent."
If something goes wrong
| You see | What to do |
|---|---|
| 'agy' is not recognized | The terminal hasn't found it yet: open a new terminal and try again (it installs to AppData\Local\agy\bin). |
| The browser does not open | Over a remote connection, Antigravity prints a sign-in address to open on your own computer. |
| Signed in with the wrong Google account | Sign in again with the account you mean to use. |
Your data
Antigravity CLI collects your interactions to improve the product unless you opt out in its settings. Check your campus's rules for research data before you point an agent at it.
Sources
- Google: google-antigravity/antigravity-cli README (opens in a new tab), read 2 October 2026
- npm, Inc.: npm registry metadata for the three packages (opens in a new tab), read 2 October 2026
- Google: Antigravity docs: Installation and auth (opens in a new tab), read 2 October 2026
Corrections
None so far. If you find something wrong, email doug,@douglashutchings.com.
Transcript
Every spoken line, by chapter
Antigravity CLI
In a few minutes, Antigravity CLI will be working in your project folder, and you'll know how to keep it in check.
AI for Research Efficiency. Episode 2.3: Install Antigravity CLI.
Last time: a terminal, a project folder, Git and Python, and an account.
In this episode: install Antigravity CLI, sign in, run it in your project folder, and check each step before you speed up.
Install
Step one: in PowerShell, paste this line. It's irm, then Google's installer address at antigravity.google, then a vertical bar, and iex.
On a Mac, use the second line, in Terminal. Both lines are on the companion page.
Check the version
Step two: close the terminal, open a new one, and type agy --version. You should see a version number.
If it says agy is not recognized, the terminal hasn't found it yet. Open a new one, and try again.
Start in your folder
Step three: go into your project folder with cd agent-work, and type agy.
Always start it in a project folder, never in your home folder.
Sign in
Step four: the first time, Antigravity opens your browser to sign in with your Google account. Next time, it signs you in on its own.
Individuals can use it free, within weekly limits. Google AI Pro and Ultra plans raise them.
Check each step
Step five: Antigravity starts in its default mode. Before it changes a file, it shows you the change, and waits for you to press y.
And on Windows, it asks before every command.
A first question
Step six: ask it something. What's in this folder?
It looks through the files, and answers in plain words.
Speed up
Step seven: when you trust it with a task, press Shift and Tab for accept edits mode, and allow the commands you trust with slash permissions. The work goes much faster.
Google's own advice: monitor and verify all actions taken by the agent.
Try it
Pause now: install Antigravity CLI, open a new terminal, and check the version.
Review and next
So: one line to install, a new terminal, your project folder, sign in with Google, default mode first, then accept edits when you trust it.
Next: a worked example. Agents read a whole literature folder in parallel, and check every claim.